The name itself suggests how commonplace it once was to make this dairy product at home. The technique was simple enough that it could be completed over nothing fancier than a hearthfire. Now it’s a little more complicated… but not much.
If you live in an area where some local dairy makes cottage cheese the way you like it, then obviously you won’t need this recipe. But if you have dietary reasons to want to know exactly what goes in your cottage cheese—say, you’re interested in managing its fat or sodium content, or you want to avoid artificial additives, or some particular one—then this technique is for you. It’s not complicated; the only specialized equipment you’ll want is a food thermometer. (And with practice, in a pinch, you can get by without that. The people in those little country cottages didn’t have food thermometers, back in the day.) You’ll wind up with cottage cheese in which you have complete confidence, because you know exactly what went into it.
Our recipe was passed to us easily a decade and a half back (and probably more…) by Jonathan White at Bobolink Dairy and Bakehouse in Milford, New Jersey. Thanks again, Jonathan!
To make the cottage cheese you’ll need:
The most important part of this process comes at the very beginning: making sure that all your cookware is spotlessly clean. You are about to be growing microorganisms in it, and you want to make sure that only the desirable ones—meaning the Lactobacillus associated with your dairy ingredients—are going to be involved. So before you start: wash your pot and utensils, scald them with boiling water, and leave them (ideally upside down in a dish drainer) to air dry.
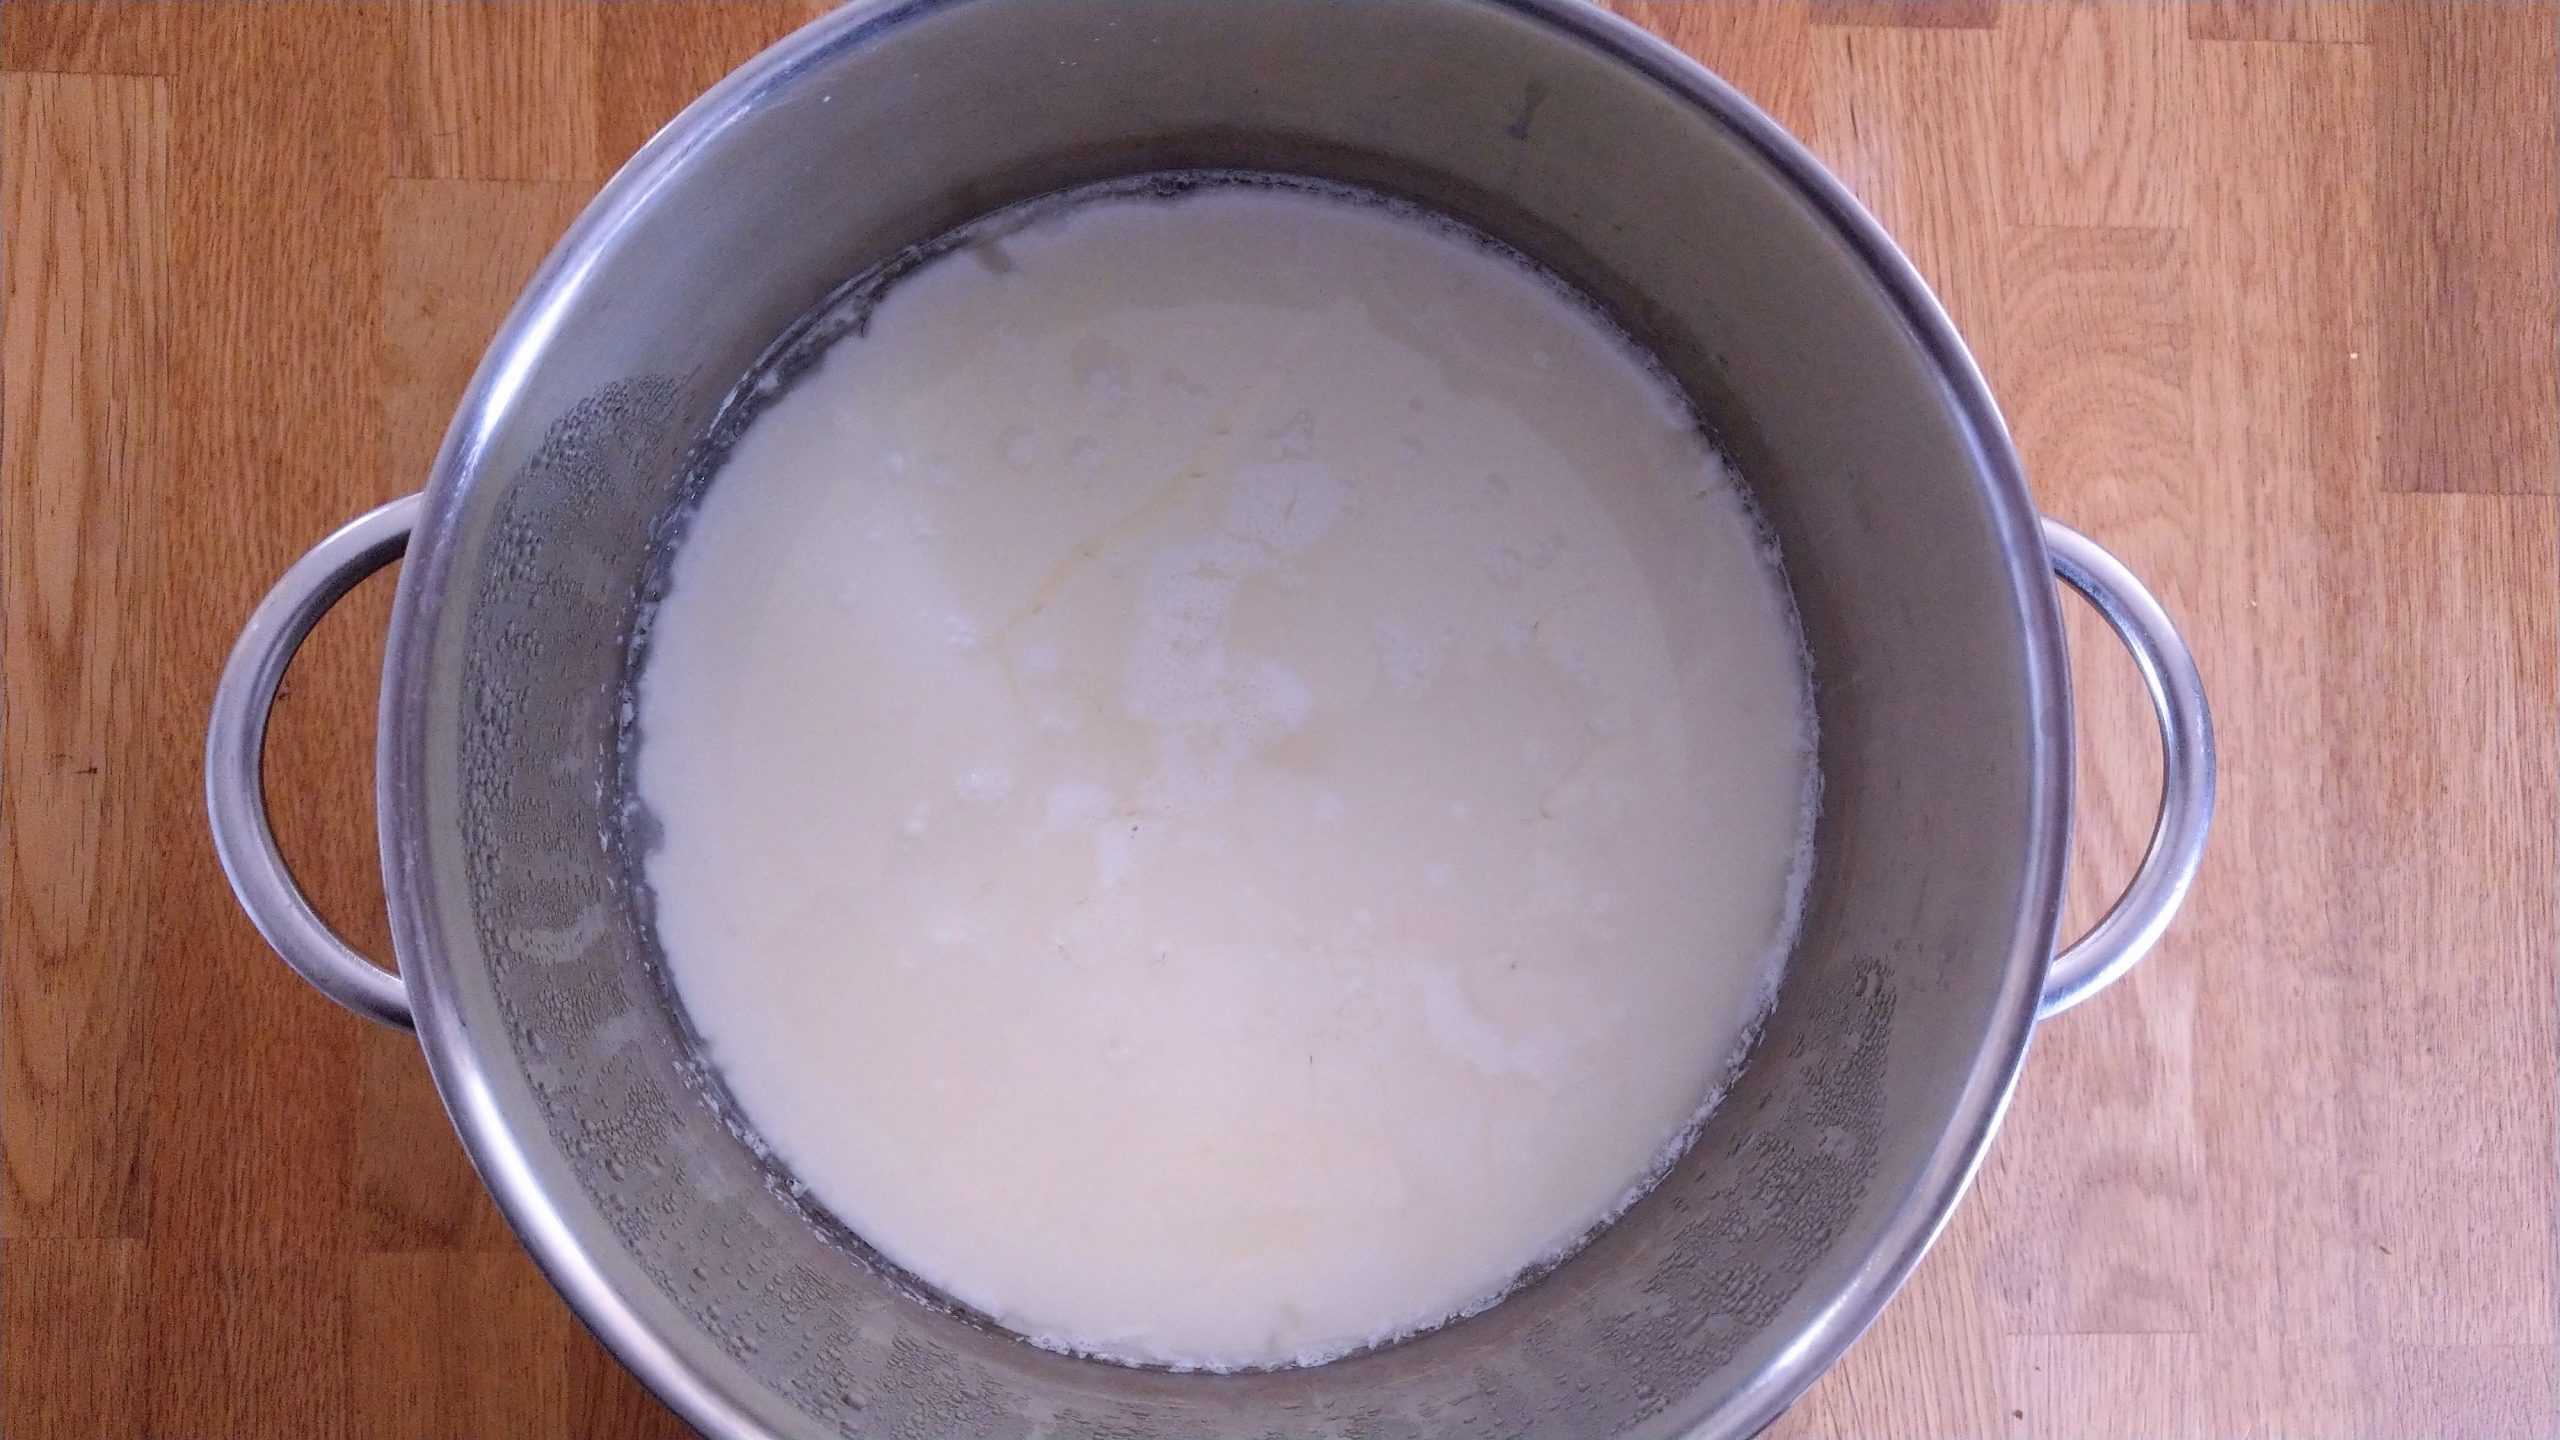
When you’re ready to start: Put the pot on the stove, pour in your three quarts/liters of milk, and very slowly bring the temperature of the milk up to 145 degrees F. Hold it there for 30 minutes. Then remove from heat and cool to 90 degrees F, a little below blood heat.
When the milk has reached this temperature, stir in the sour cream or buttermilk very well, and cover the pot. (A note here for any amateur cheesemakers reading this: You can use a dose of a good mesophilic cheese starter instead of the sour cream or buttermilk if you like.)
Wrap up the pot in a towel or throw and put it aside in a warm place for 18-24 hours. (If you like your cottage cheese fairly tangy, you could leave it for as long as 36 hours.) The very best option for this culturing stage is to put the pot in a “hay box” or similar insulated container meant to help the contents hold in the warmth for prolonged periods. This isn’t absolutely necessary, but it’s how we do ours, and the results are very good. (A YouTube video on how to make one version of a hay box is here.)
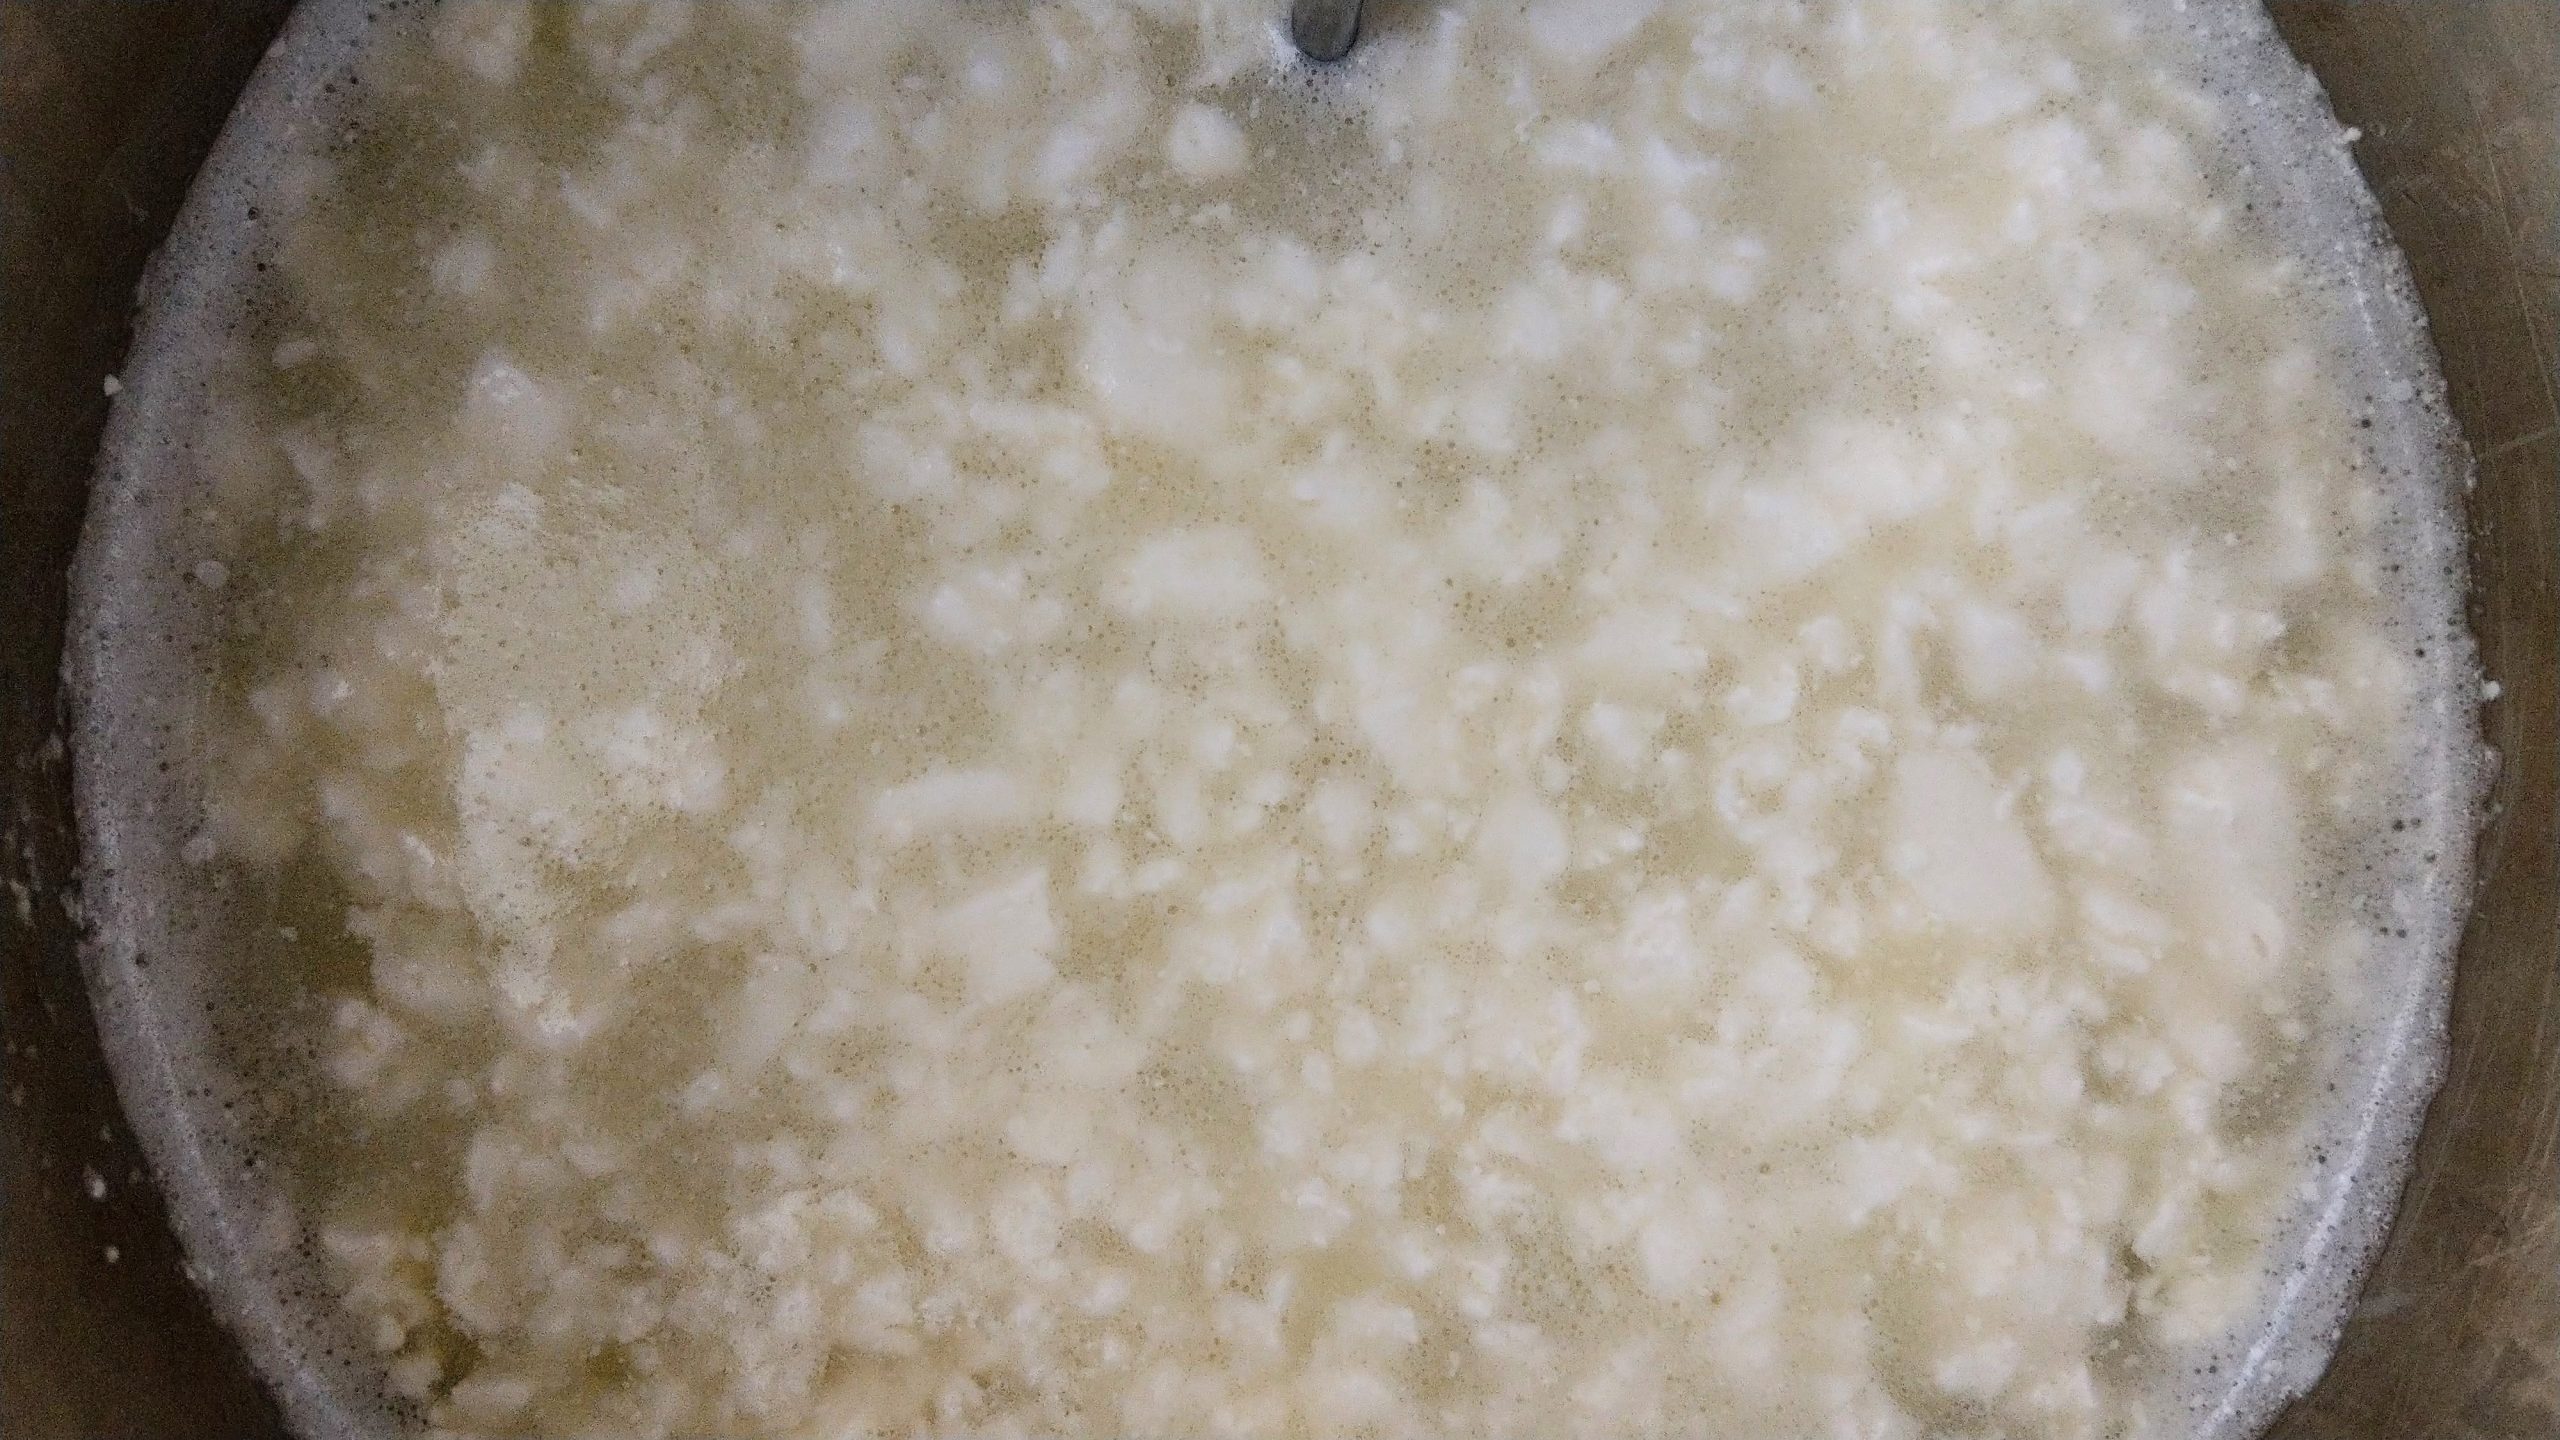
At the end of your preferred culturing time, open up the pot and check to see how things are going in there. Ideally, the acidity of your starter culture (and to a lesser extent the Lactobaciillus in it) will have caused the milk to solidify into a soft curd. It won’t be incredibly solid—more like a gelatin dessert—and when you wiggle or shake the pot, you should see it wobble a little. This is just as it should be. If you see some clear-ish liquid on top of the milk, this is normal too–it’s whey, the watery liquid that comes out of milk when it starts to turn into curd.


When you’re ready to proceed, put the pot on the stovetop and find your long knife. Start cutting through the solidified milk as if you were cutting it into slices. Then give the pot a quarter turn and cut a new set of “slices” at right angles to the first ones. Finally, cut slices diagonally through the curd once, turn the pot a hundred and eighty degrees, and repeat the slicing. This cutting process increases the surface area of the curd so that it can start the process of getting rid of all that whey. What’s left, after the whey is gone, will be your cottage cheese.
Once you finish with the cutting, leave the curd for half an hour to start giving up its whey.
Just cutting the curd, though, won’t be enough to get all the whey out of it. It has to be cooked first. Turn the heat on low under the pot and very gently use your large spoon or skimmer to begin stirring the curd. Don’t use a circular stirring motion: instead, start at one side of the pot and draw the spoon or skimmer straight through to the other. Your goal here is to try to keep the temperature even through the mixture as it rises, while also (for the time being) trying to keep the curd together in largish pieces rather than breaking it up.
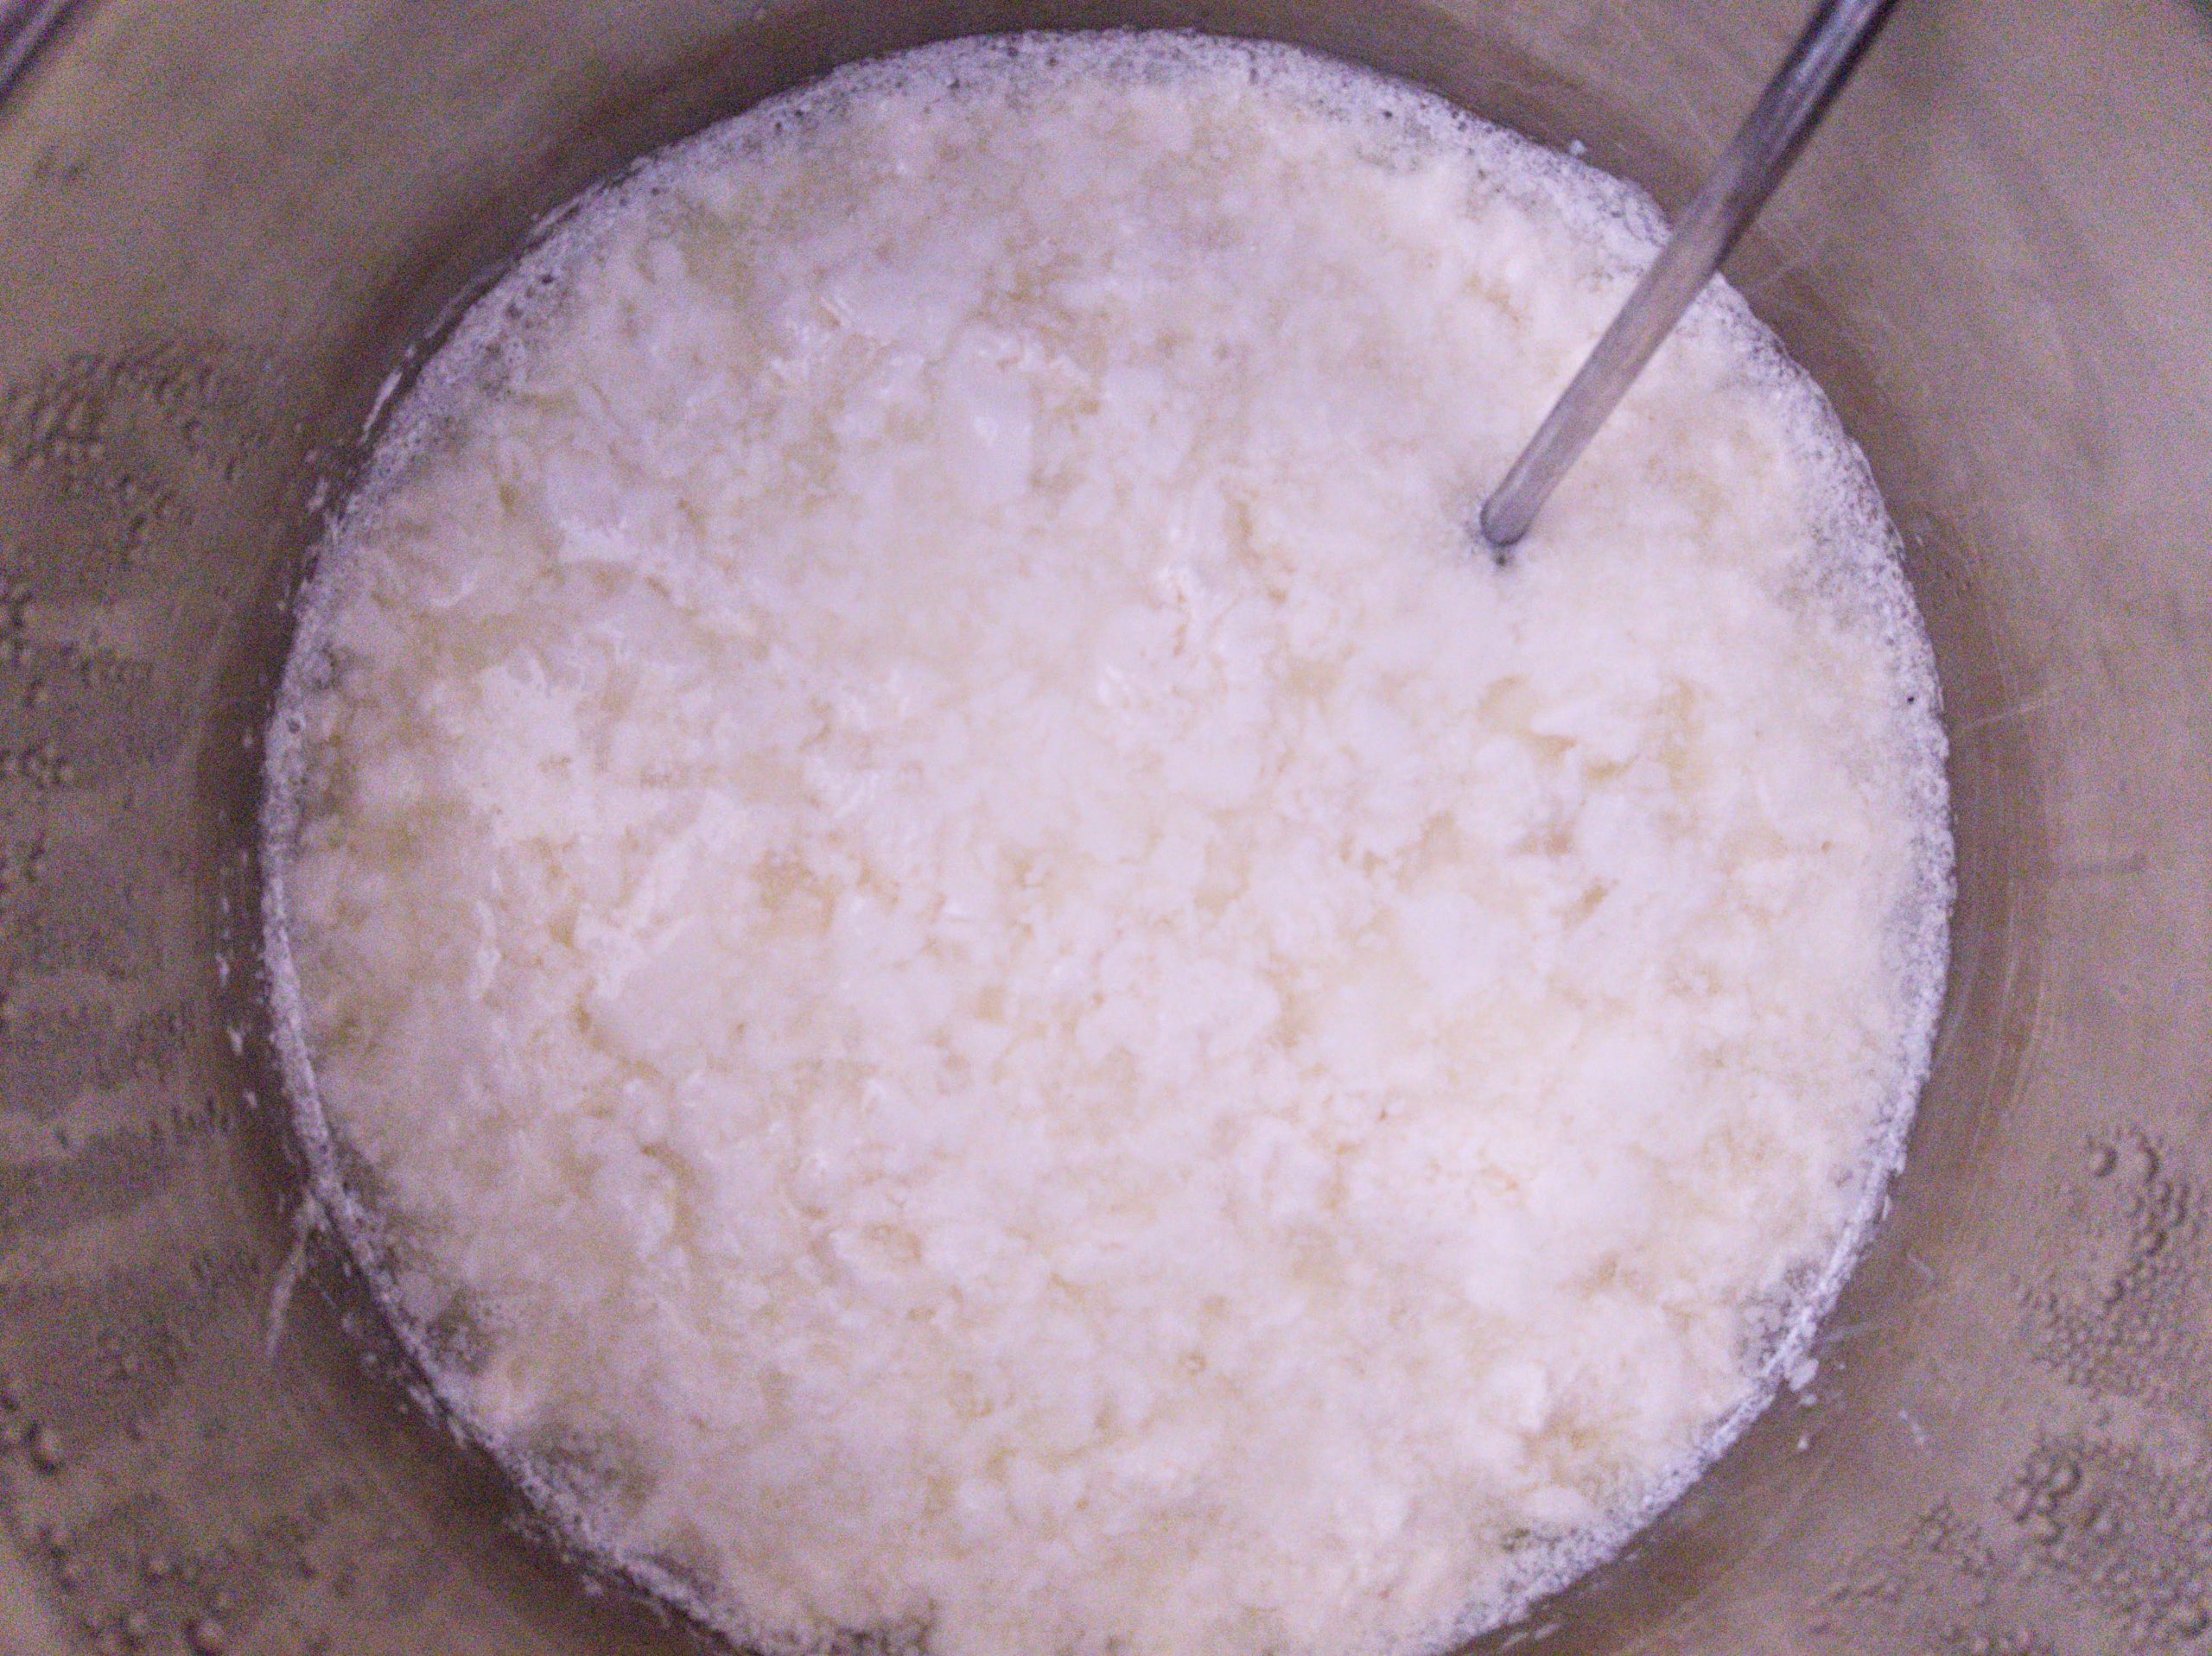
As the temperature rises you’ll want to use your thermometer to check it occasionally. More and more whey will come out of the curd as the cooking proceeds, and the curds will start to tighten up and look more like something you’d find in cottage cheese.
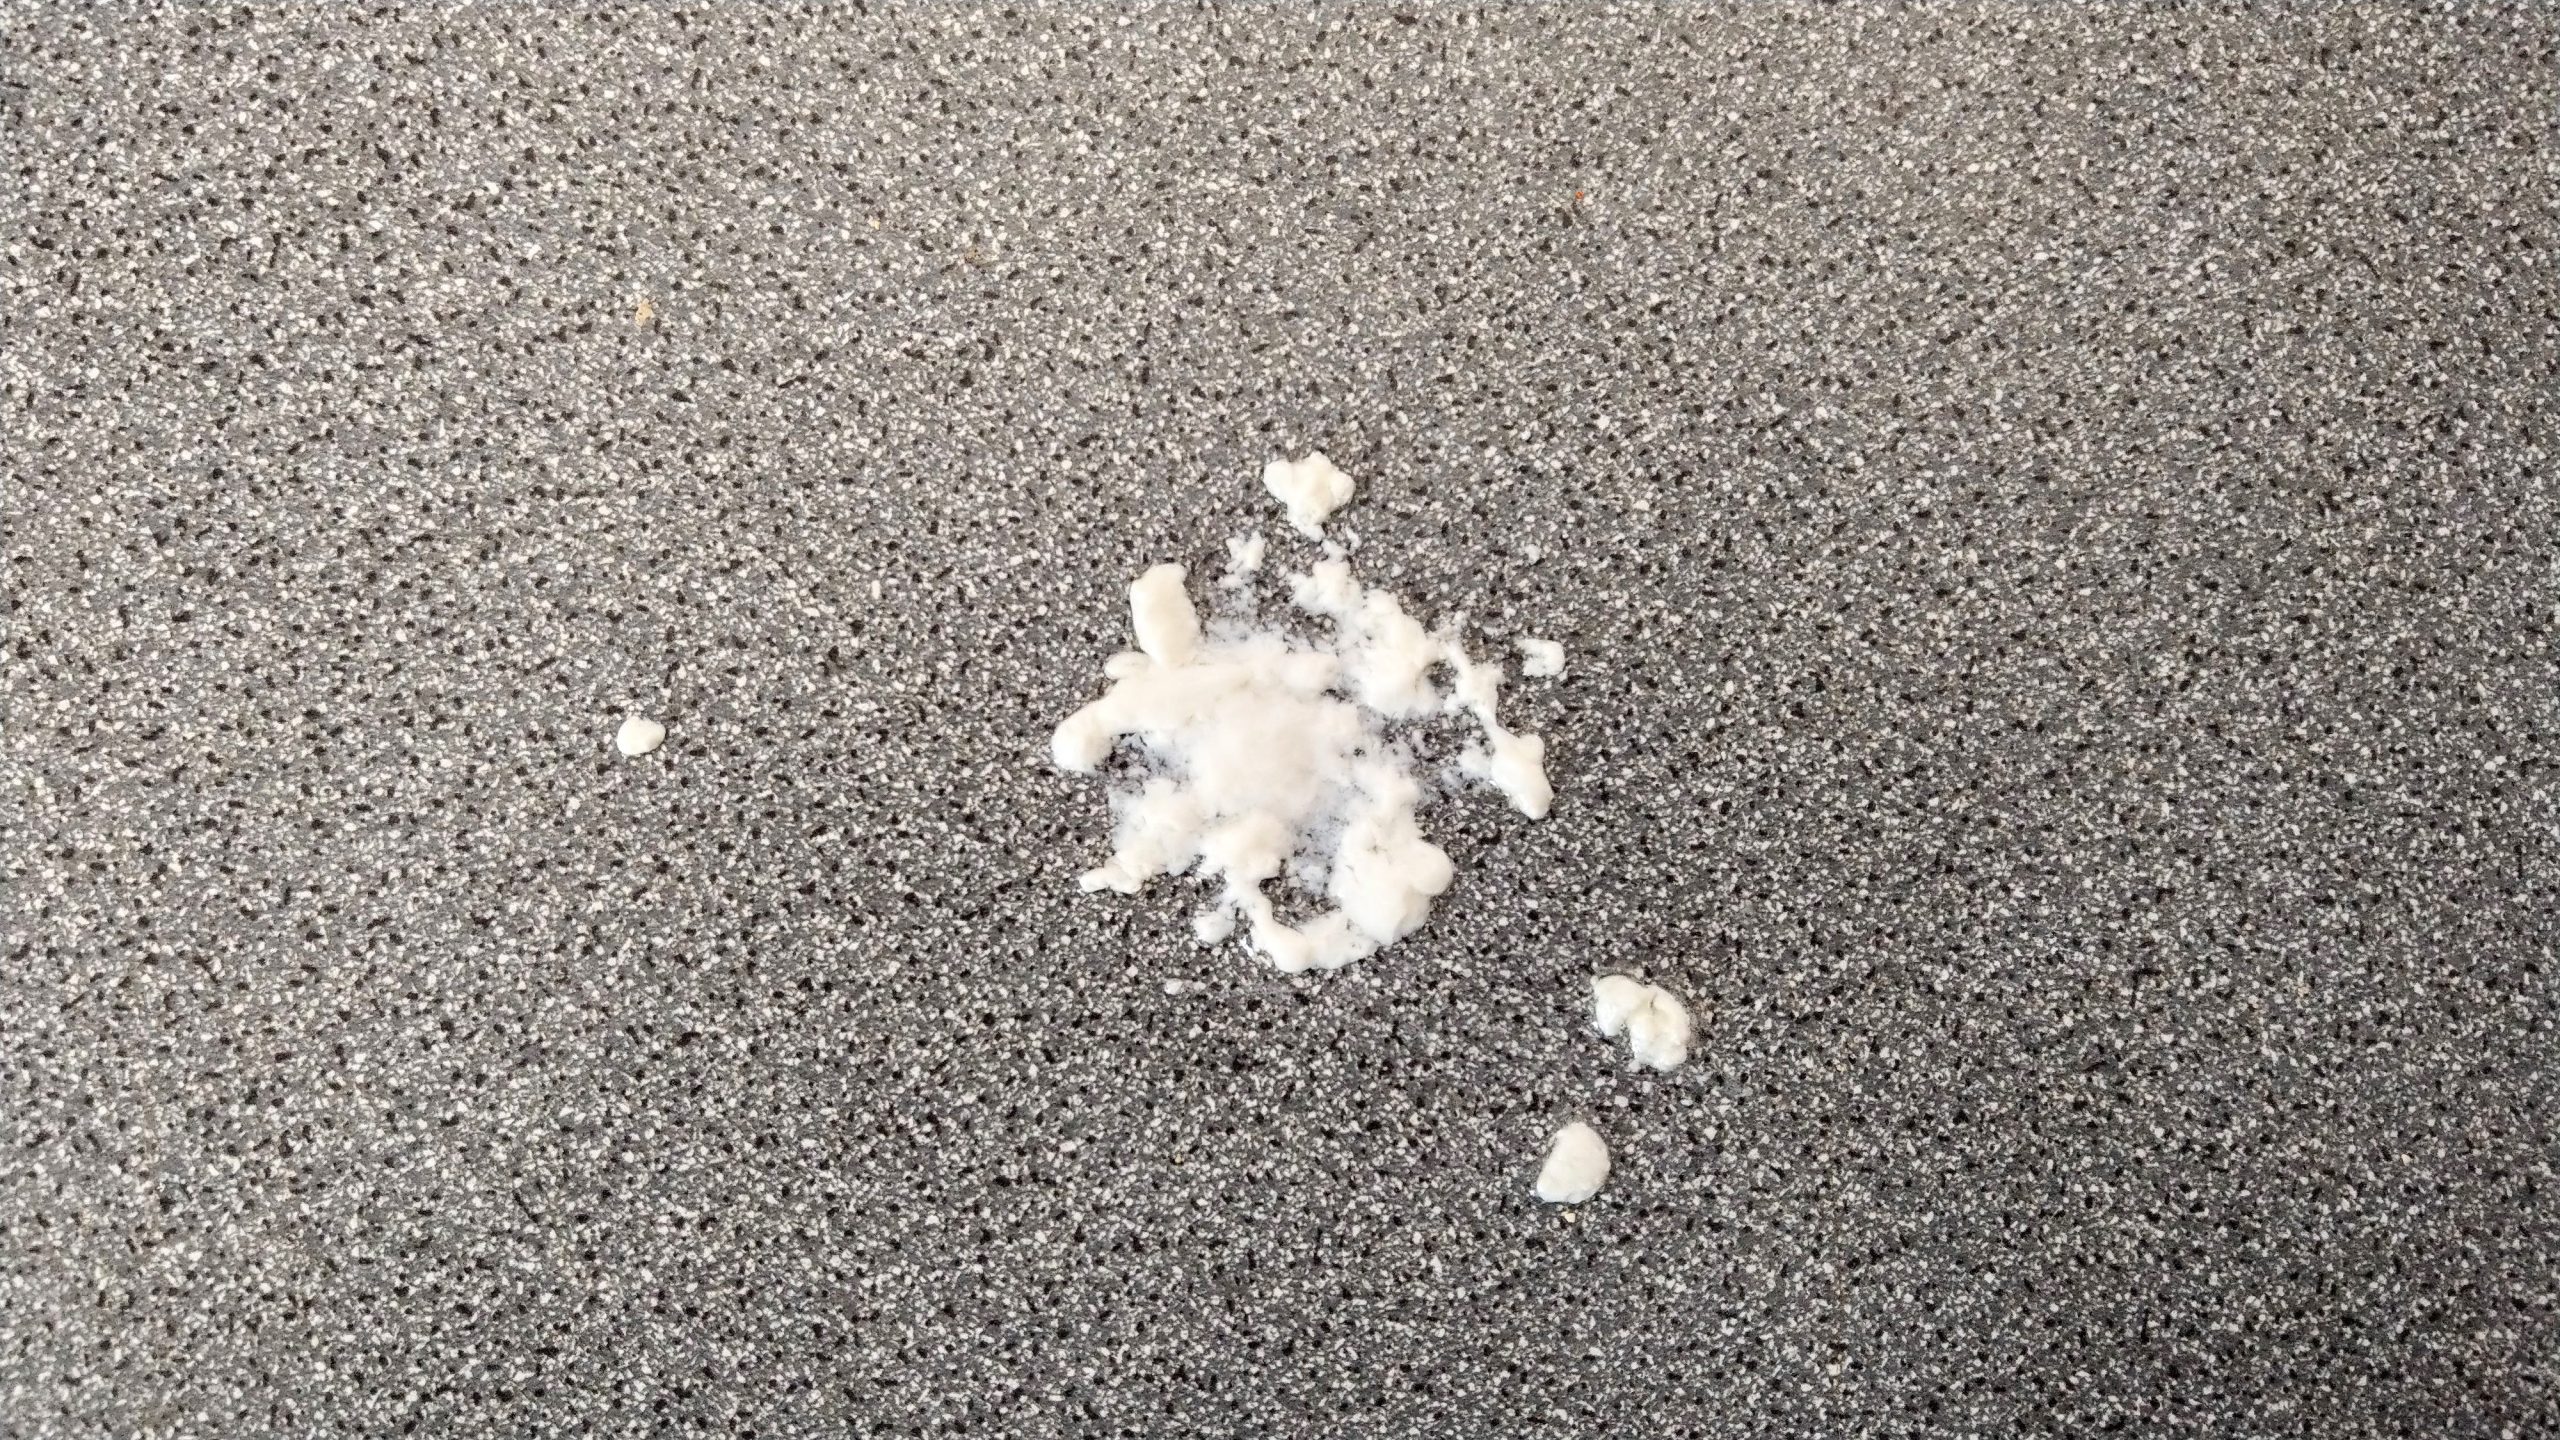
This is the point where you need to start testing the curds occasionally (as the temperature in the pot rises) to see if they’re ready. The test is called “the splat test”, and it involves dropping a curd onto a clean work surface from about three feet above and seeing if it mostly holds together. If it goes splat (like the one below), the curd isn’t ready yet.
Keep gently stirring the curds and whey while checking their temperature occasionally.The target temperature is between 125-129F: if you allow the mixture to go any higher than that, the curd may become too tough, so keep an eye on it. You may have to hold the curds and whey at that temperature for fifteen minutes or more until the curds cook sufficiently to pass the splat test.
When they’re ready, be prepared to move quickly. Put your colander in the sink and line it with the dishtowel. Then pour the curds and whey mixture into it, a third of the potful or so at a time, to allow the whey time to soak through the towel and escape from the colander. When all the curd is in the lined colander, quickly rinse it clean with lots of cold water to stop the curd cooking any further and get rid of the last of the whey. (Any whey that remains will make the curd sourer/tangier, so you want to be very careful about this the first couple times you make cottage cheese this way.)
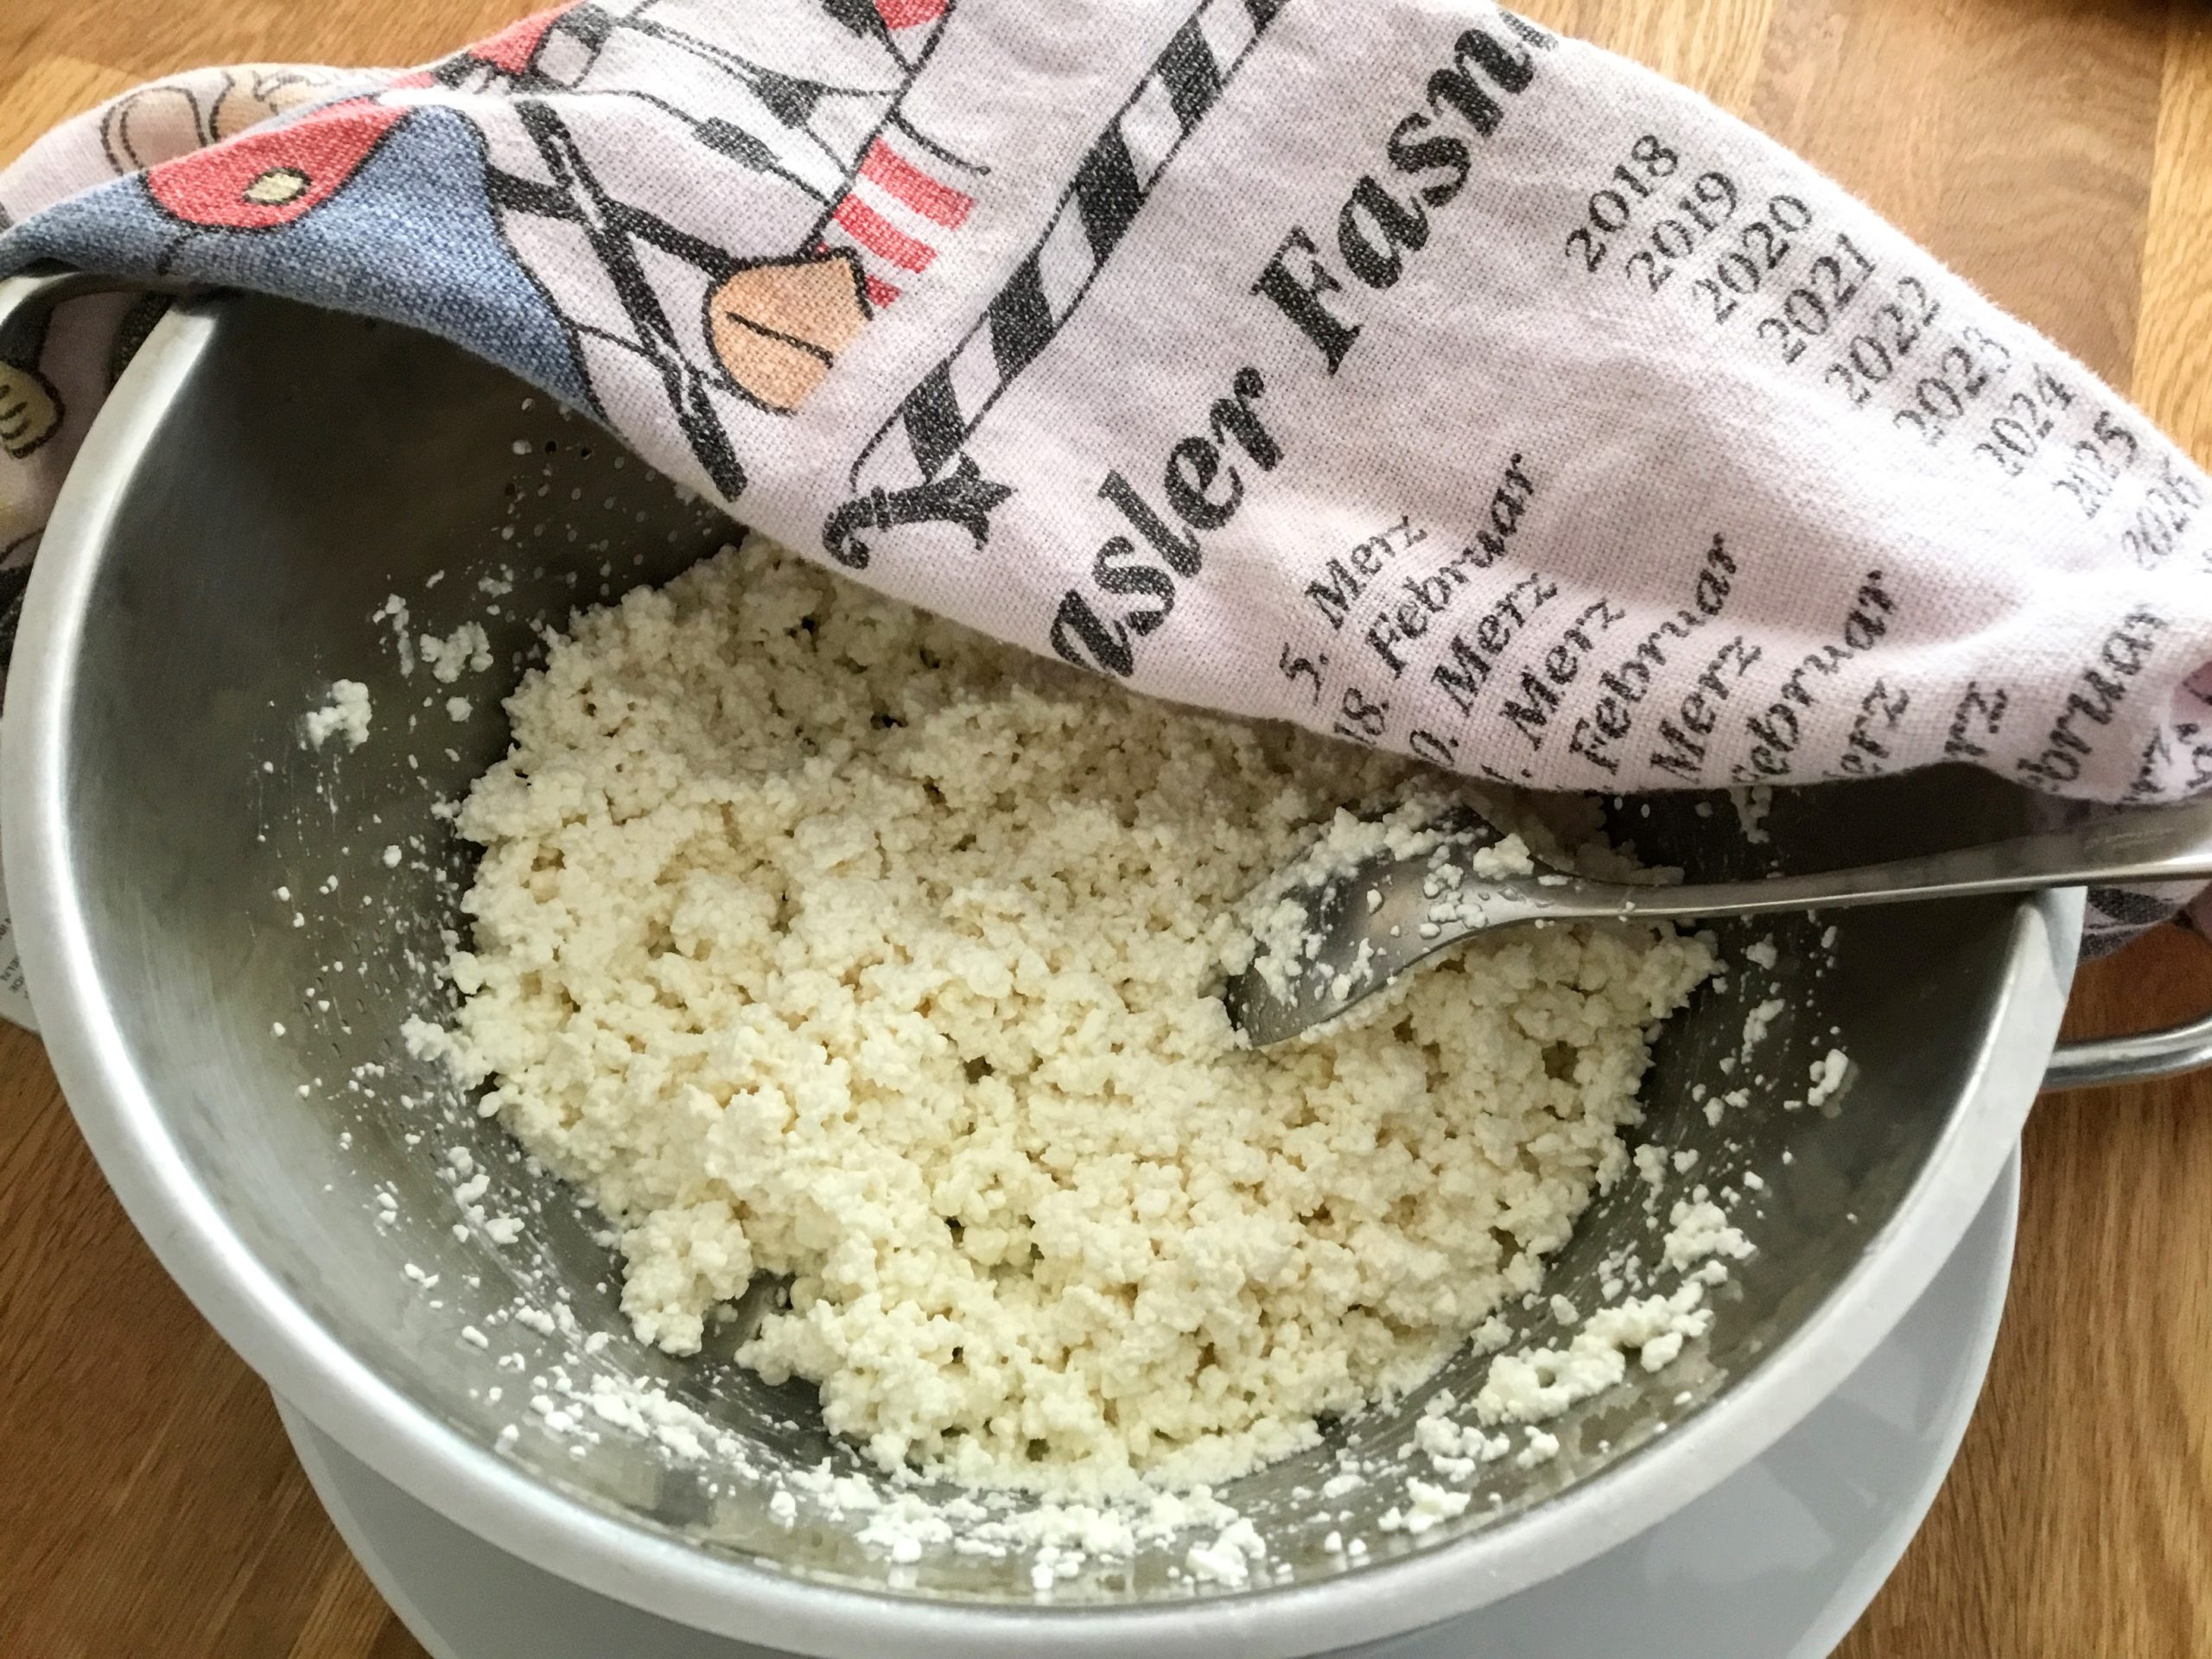
Once you’ve finished rinsing the curd, start turning it with a spoon to help it get rid of any remaining water/whey. (If you want to turn it out of the cloth into the colander for this part of the process, and your colander has small enough holes for this, feel free.) Also, while you’re doing this turning and stirring, it’s a good time to salt the curd. Add only enough salt that you can just taste it. Too much salt will make the curd lose more liquid when refrigerated, and get tough.)

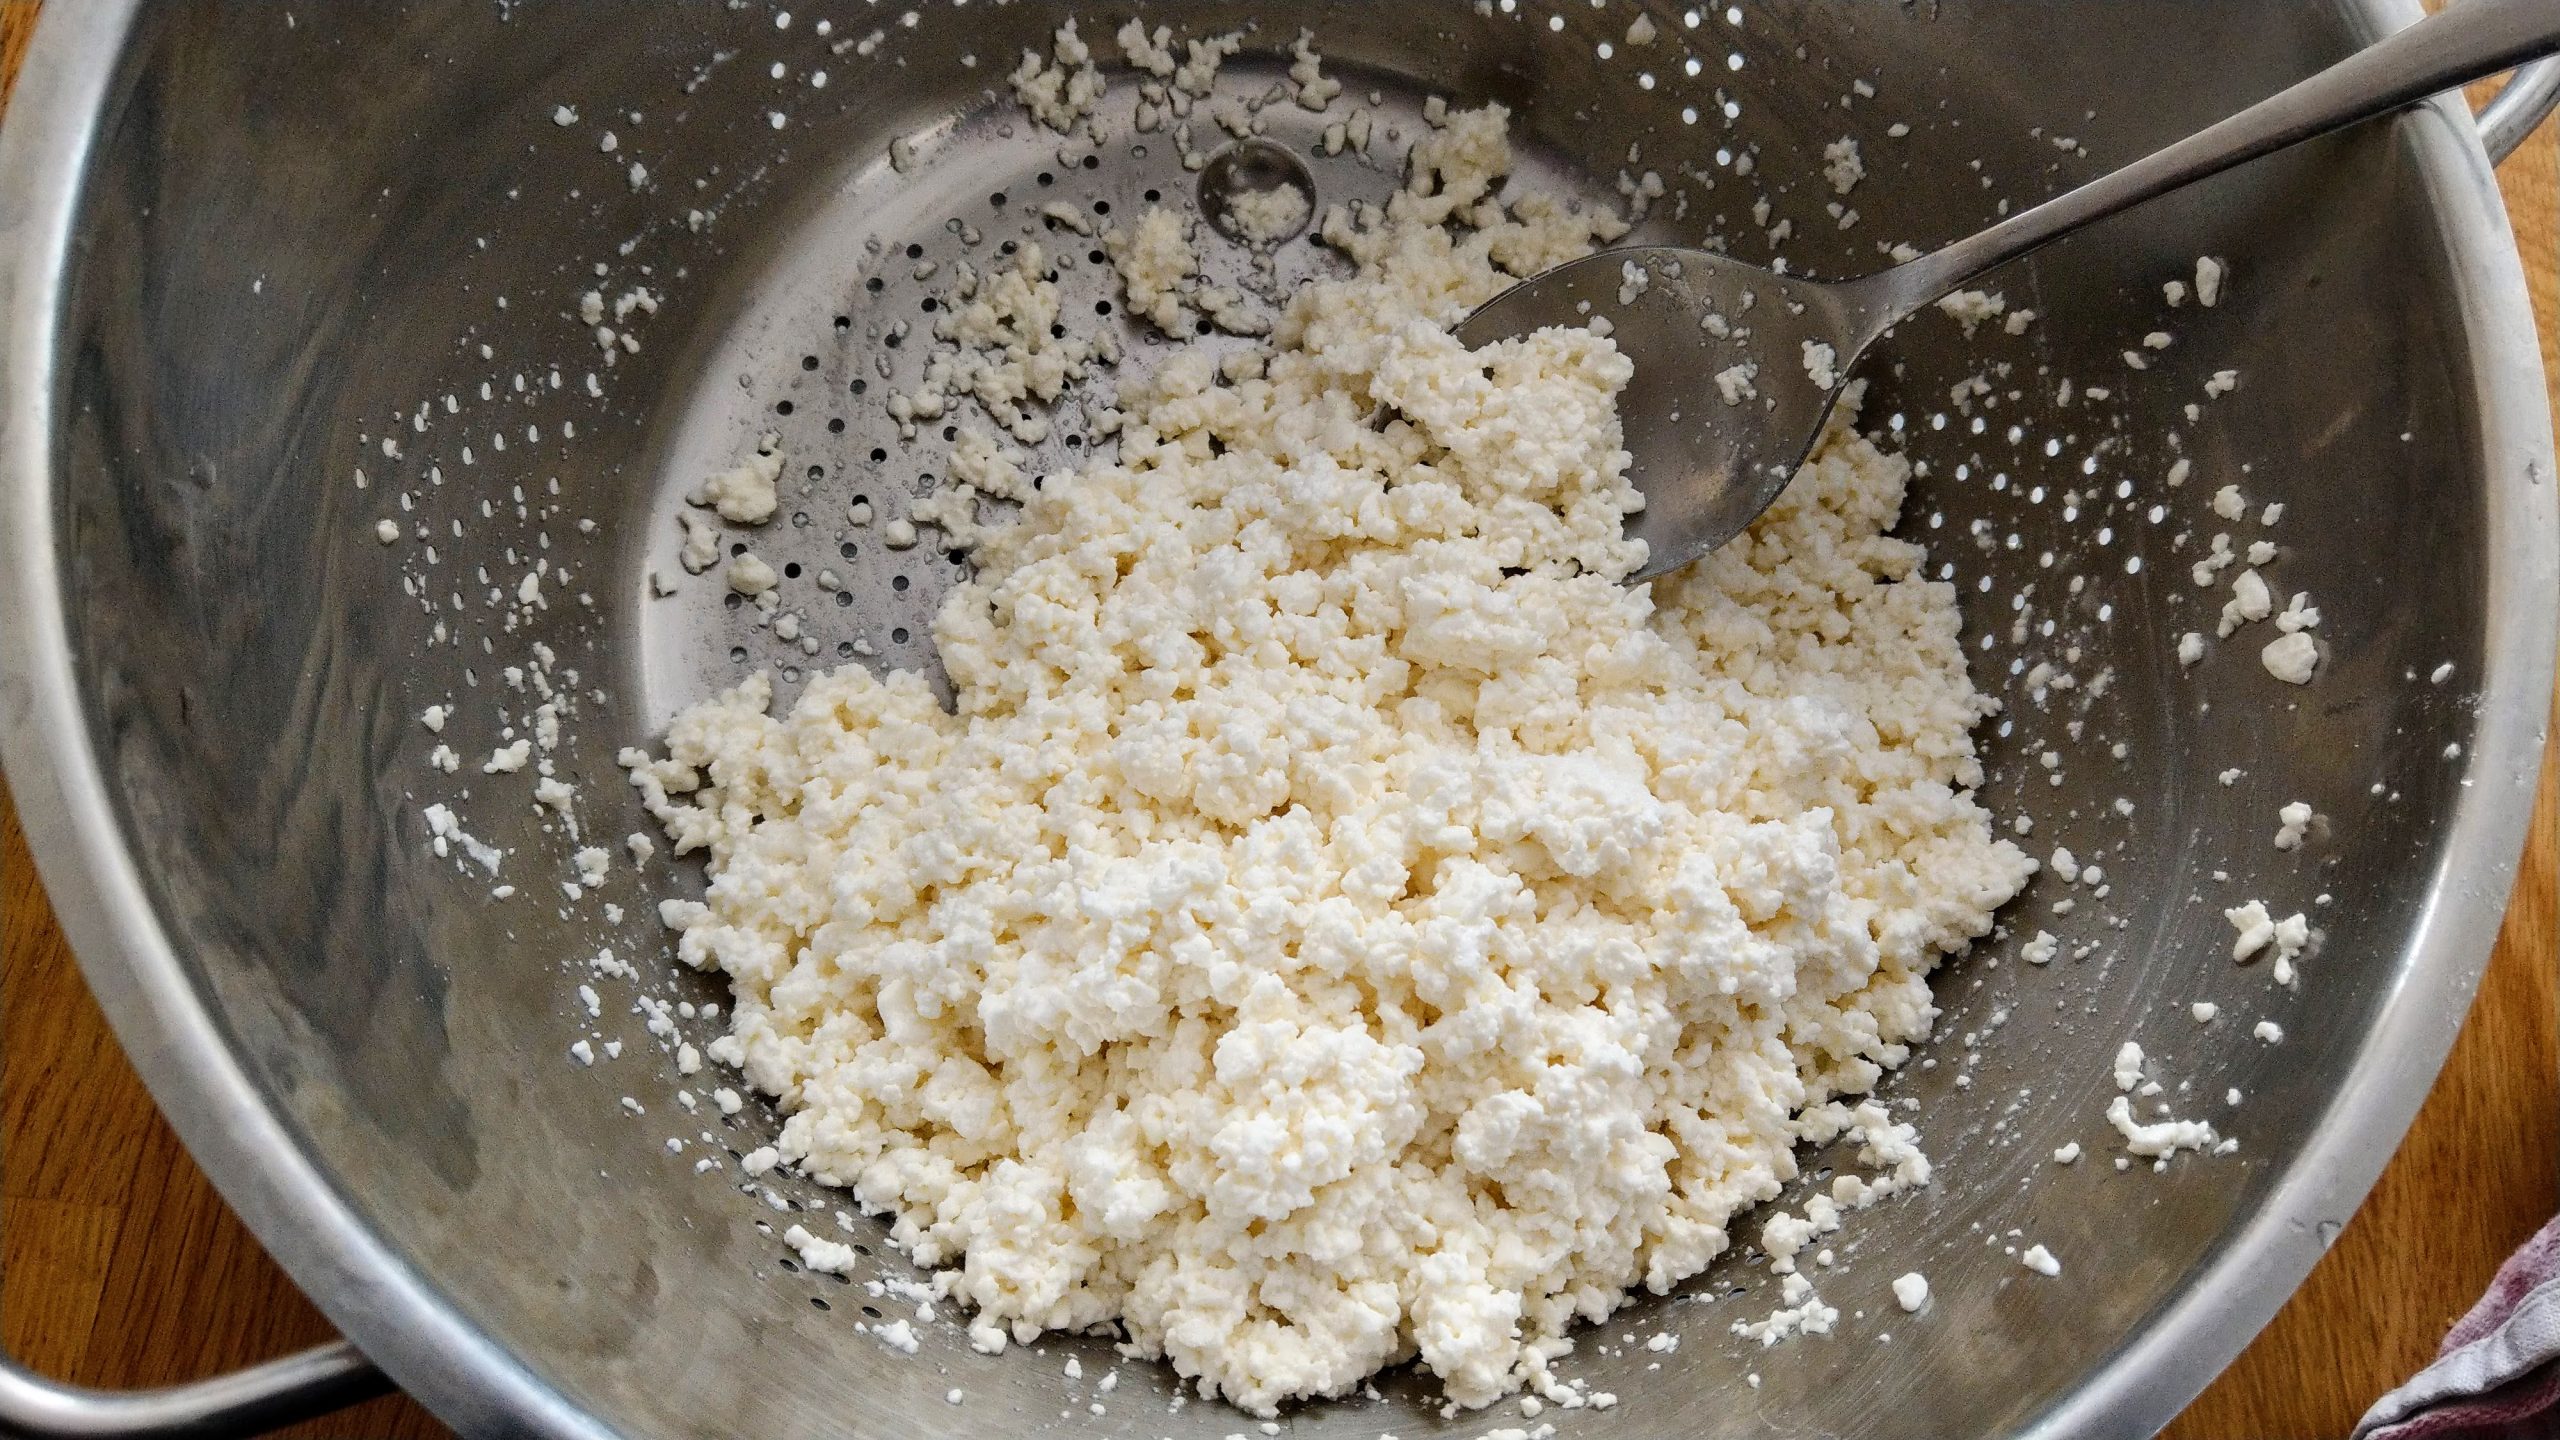
When finished with the salting, if you like your cottage cheese on the dry side—or are planning to cook or bake something with it—at this point you can just put the cottage cheese in an airtight container and refrigerate it.
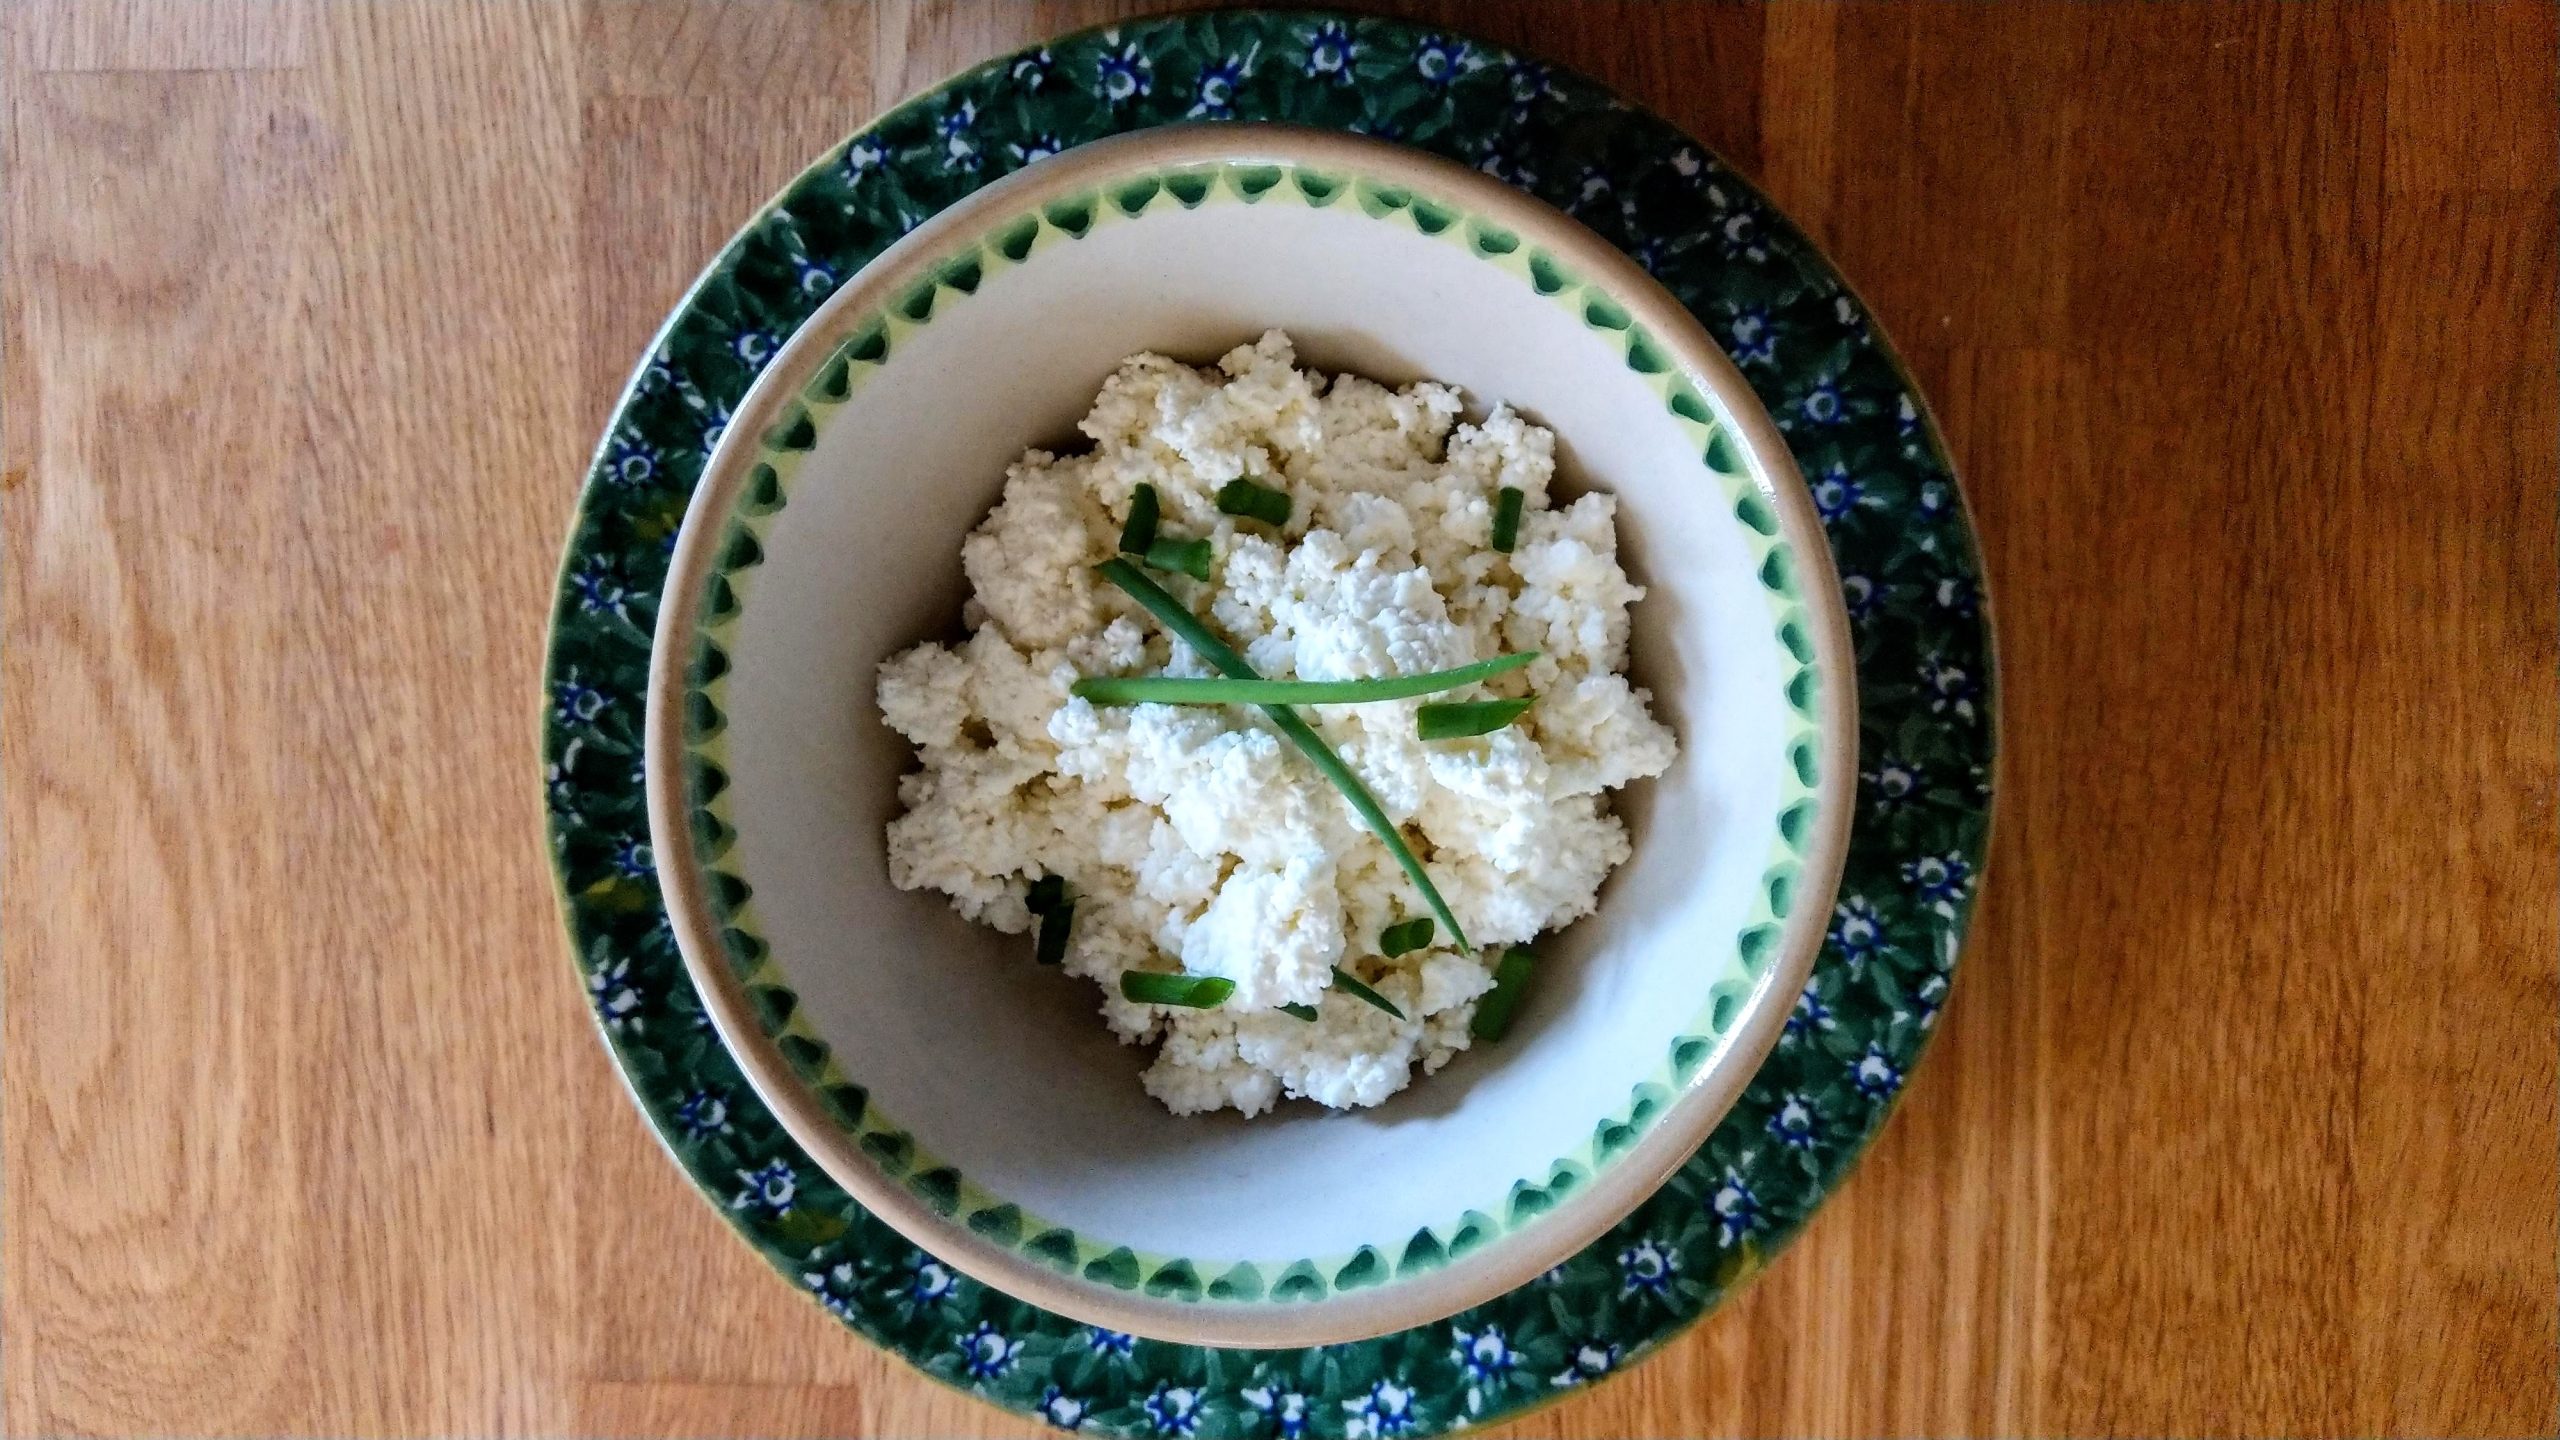
If you prefer a wetter cottage cheese, or a “creamed” style cottage cheese, this is the point where you add an additional “dressing”. Weigh the dry curd and add an equivalent weight of cream, sour cream or (if you like it tangy) buttermilk. (Jonathan White recommends a 10% milkfat cultured cream, if you can find one.) Then put the cottage cheese in an airtight container and refrigerate.
Three liters/quarts of milk should make about a pound of cottage cheese. The dry cottage cheese will keep in the refrigerator for between a week and ten days, depending on your fridge’s temperature. “Dressed” cottage cheese will last about a week.
Enjoy!